Your Cart is Empty
we ship from colorado to maine


Good morning local food eaters!
How did you all do with the wintery weather? Late snow and March 10 degree weather followed by quick thaw have left things a bit of a mess on the farm. We've had a few setbacks, including some losses in our first batches of chicks due to the freezing/thawing.
We are in the beginning stages of a construction project to build a much needed larger shipping container building for chick brooders; it's has been put on hold until we can continue setting up the foundation and getting equipment in there (without it getting stuck in the mud!). We poured these footers on February 23rd, which was so warm that there was shirtless working going on. Fingers crossed that the moving of shipping containers can start in there in the coming week.


News from the Farm: Snow pigs
Now that the snow has melted and the 10 day forecast predicts spring, I am finally getting around to sharing the snow fun.

See the pigs all bedded down in there?

Some lambs learned how to slide under a gap in this fence...

which allowed them to get the most of the snowman killing thaw.
Best Popcorn Ever - a perfect way to use saved lard or bacon grease!
Here's an idea for using up saved fat that you didn't want to waste. Lard from cooking bacon or the hard fat on the top of the cooled beef stock works well.
Some personal info about us: we eat a LOT of popcorn. I didn't grow up eating popcorn, but Brooks' family are popcorn fanatics, and after making it for him for years, I've joined the popcorn crowd. We now make a massive bowl of it at least once a week on movie night. After trying a variety of methods, we have got it down.
Basic Stovetop Popcorn Recipe
Ingredients
popcorn, preferably nonGMO, preferably grown locally!
bacon grease saved from cooking, or lard or tallow
butter, preferably sourced locally if you can find it
salt, celtic or himalayan if you have it
nutritional yeast
Method & Quantities
Select a large pot, depending on the size of popcorn you want to make, but honestly the bigger the better even if it won't be filled up with popcorn. A heavy bottom is important to prevent burning. Turn the heat on medium high, or high. Add about 2 Tb or more lard. You don't need to measure, just eyeball it because the goal is to have the bottom of the pot covered in a thin layer (but not TOO thin, or it will burn). A coating is too little, but 1/4 inch is way too much. When the lard is melted and spread around by tilting the pot, dump in some popcorn kernels. Again, you do not need to measure but rather aim for an even layer across the bottom. Ideally it would be a layer of single kernel height, but a little bit more doesn't hurt. Put the lid on (see below). Now, SHAKE the pot. Keep it on the stove, but gently shimmy it back and forth. Do this continuously (or every 30 seconds) throughout the process.
Secret to success: the lid
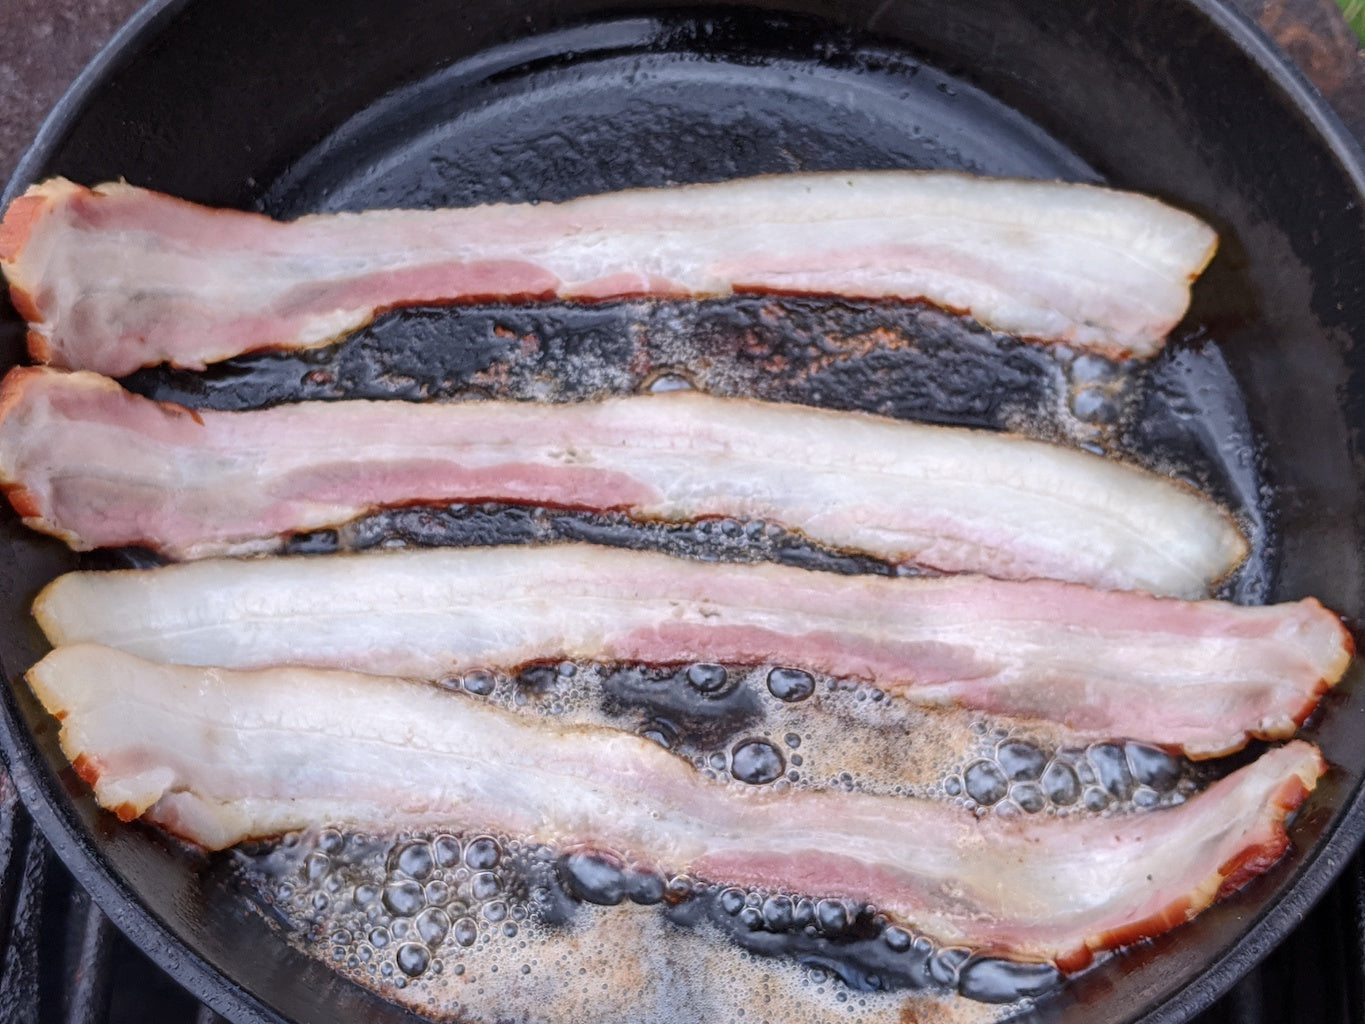
The one thing that really helps when making popcorn on the stove, which we discovered by trial and error, is a splatter lid, the kind that is used when deep frying or frying bacon like this. If you don't have one, you can use a regular lid on the pot. That is what we did for years, because you have to have something on top, or popcorn flies everywhere! But the problem with that is that it doesn't allow steam to escape, making for a less crunchy popcorn. Almost chewy even sometimes, depending on the moisture content in the original corn, which can vary greatly. One way to get around this is to put the popped corn in a wide shallow bowl or tray in a 220 degree oven for 20 minutes, which really helps crisp it up and makes it light and crunchy like movie theater popcorn (like popcorn should be). This is why air poppers are popular, because the forced air tends to dry the corn out and make it crunchy. We actually prefer stove top popcorn, done this way. The splatter lid is great because as the popcorn heats up and pops, any remaining moisture is steamed off and allowed to escape.
Depending on the size of your pot and how much popcorn you are making, a point will come when there is enough popcorn sitting on top of the popping kernels to keep them from flying out. Usually this is when the pot is just over half full. At that point, it helps to take the lid off and use a long wooden spoon to stir the whole thing, which helps get all the kernels popped and also helps release more moisture.
When you can hear only a few pops, slowing down to none, pour the popcorn into a bowl. Let the pot cool for about 5 minutes until you can put butter into it to melt. We like a lot of butter. Brooks says that in his family, the ideal bowl of popcorn had so much butter that there would be a little puddle of it hardened at the bottom when you were done. Now that we know butter is good for you, we add it liberally to suit our tastes. Next, the salt - a fine salt is good to get even coverage, and again, sprinkle and stir to taste. We follow this with some nutritional yeast for a nice almost cheesy flavor, and that's probably pretty good for us too.
Looking to kick things up a notch? Add a drizzle of maple syrup and chopped bacon bits for awesome (and addicting) maple bacon popcorn.

Stay warm and healthy everyone, spring is surely almost here!
~Anna
Comments will be approved before showing up.